Pre-requirements
Technical on local computer
We recommend that you set up both:
a terminal on you computer that can handle X11 graphics AND
install the “Remote Access Desktop application” ThinLinc, see below.
Basic terminal clients
If you are in a hurry or get problems in the installation procedure you can do most of the work from these first steps.
Use terminal (e.g. from Launchpad) or iTerm2

Mac built-in terminal
- iTerm2 goodies:
You can save hosts for later.
Drag and drop scp
Add X11 graphics to terminal
- Download and install XQuartz or other X11 server for Mac OS
Start terminal (e.g. from Launchpad) or iTerm2
- Either continue building upon Putty and install XMING
When installed, start XMING and let run in background and then start putty and log in with
ssh -X…
OR
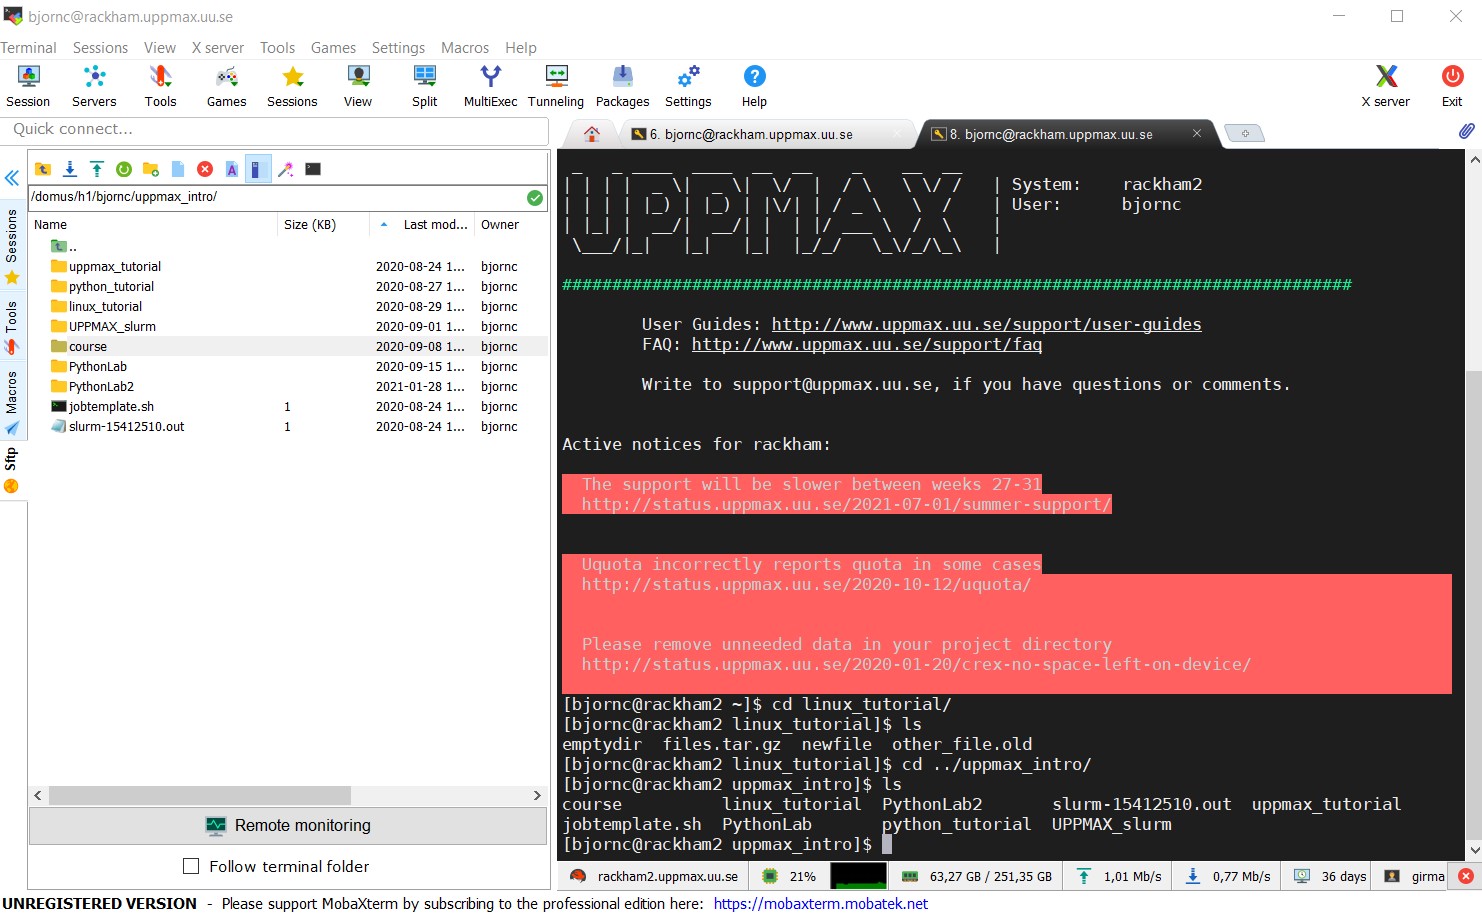
- Install MobaXterm with built-in X11 and sftp file manager
sftp frame makes it easy to move, upload and download files.
… though downloading from remote host to local is usually easier.
tabs for several sessions
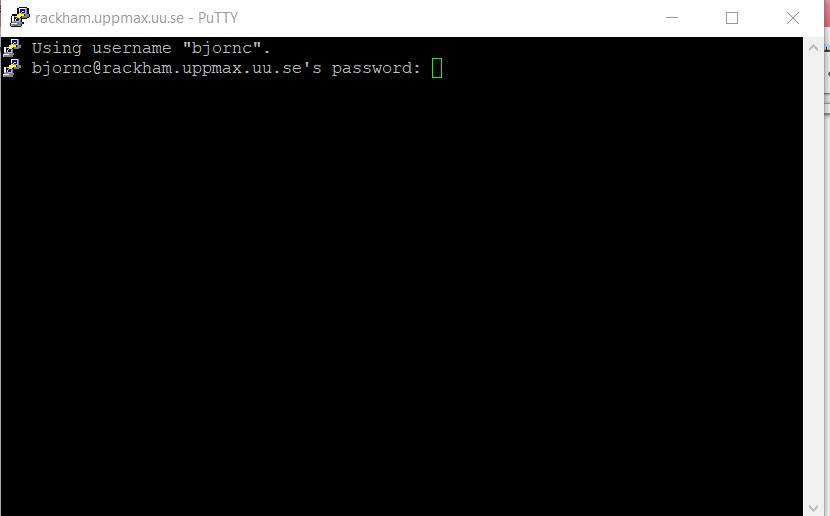
Start local terminal and a SSH session by:
$ ssh -X <username>@rackham.uppmax.uu.se
$ ssh -X <username>@kebnekaise.hpc2n.uu.se
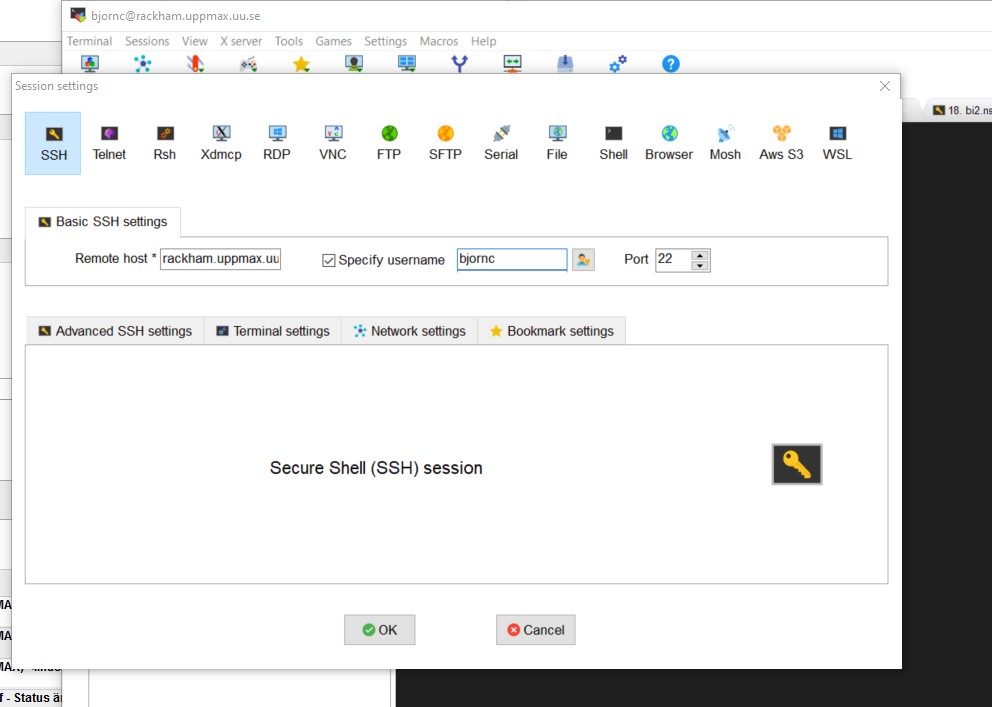
- Or even better, create and save a SSH session, as shown in image below.
This allows you to use MobaXterm as a file manager and to use the built-in graphical texteditor.
You can rename the session in the Bookmark settings tab.
X11-forwarding from the command line (generally)
- Graphics can be sent through the SSH connection you’re using to connect
Use primarily ssh -X <…> and secondary ssh -Y <…>
- The X servers that enables graphics are needed, as mentioned above!
When starting a graphical program, a new window will open, but your terminal will be “locked”.
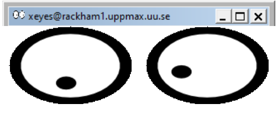
Run using “&” at the end to run it as a background process e.g. “xeyes &” or “gedit &”
Alternatively, use <ctrl>-z to put a graphical window to sleep and type “bg” to make this process work in the background.
ThinLinc
Rackham, Kebnekaise and Bianca offer graphical login.
This gives you a desktop environment, as if you were working on your own computer!
- Install ThinLinc client
Login to ThinLinc desktop application by providing the following
server: rackham-gui.uppmax.uu.se
username
password
server: kebnekaise-tl.hpc2n.umu.se
username
password
Try to log in
Follow the steps in the emailed instructions.
First time you need to use a terminal to set password
When password is set you can begin to use ThinLinc as well.
Warning
Using ThinLinc to log in to Rackham may require 2FA - https://www.uppmax.uu.se/support/user-guides/setting-up-two-factor-authentication/
When logging in the first time in ThinLinc, choose XFCE desktop.
Test it!
See also
Keypoints
- When you log in from your local computer you will always arrive at a login node with limited resources.
You reach the calculations nodes from within the login node (See Submitting jobs section)
You reach UPPMAX clusters either using a terminal client or Thinlinc
Graphics are included in Thinlinc and from terminal if you have enabled X11.
- Which client to use?
Graphics and easy to use
ThinLinc
- Best integrated systems
Visual Studio Code has several extensions (remote, SCP, programming IDE:s)
Windows: MobaXterm is somewhat easier to use.
Text editors on the Clusters
Nano
gedit
mobaxterm built-in
Hint
There are many ways to edit your scripts.
If you are rather new.
Graphical:
$ gedit <script> &(
&is for letting you use the terminal while editor window is open)Requires ThinLinc or
ssh -Y ...orssh -X
Terminal:
$ nano <script>
Otherwise you would know what to do!
- ⚠️ The teachers may use their common editor, like
vi/vim If you get stuck, press:
<esc>and then:q!
- ⚠️ The teachers may use their common editor, like
Demo
Let’s make a script with the name
example.py
$ nano example.py
Insert the following text
# This program prints Hello, world!
print('Hello, world!')
Save and exit. In nano:
<ctrl>+O,<ctrl>+X
You can run a python script in the shell like this:
$ python example.py
# or
$ python3 example.py
Coding
Basic knowledge of the languages used the different days.
We won’t test your skills though.
Rather you will learn to understand the ecosystems and navigations for the the different languages on a HPC cluster.
See below for links to useful material if you need a refresher before the course.
More important is how to work in Linux and especially Bash
Linux
some familiarity with the LINUX command line (recordings from HPC2N:s Linux intro and UPPMAX Intro course),
Material for improving your programming skills
First level
The Carpentries teaches basic lab skills for research computing.
Second level
Code Refinery develops and maintains training material on software best practices for researchers that already write code.
Their material addresses all academic disciplines and tries to be as programming language-independent as possible.
Third level
ENCCS (EuroCC National Competence Centre Sweden) is a national centre that supports industry, public administration and academia accessing and using European supercomputers. They give higher-level training of programming and specific software.
Understanding clusters
The two HPC centers UPPMAX and HPC2N
Two HPC centers
There are many similarities:
Login vs. calculation/compute nodes
Environmental module system with software hidden until loaded with
module loadSlurm batch job and scheduling system
pip installprocedure
… and small differences:
commands to load Python, Python packages, R, Julia
slightly different flags to Slurm
… and some bigger differences:
UPPMAX has three different clusters
Rackham for general purpose computing on CPUs only
Snowy available for local projects and suits long jobs (< 1 month) and has GPUs
Bianca for sensitive data and has GPUs
HPC2N has Kebnekaise with GPUs
Conda is recommended only for UPPMAX users
Warning
At both HPC2N and UPPMAX we call the applications available via the module system modules.
To distinguish these modules from the python modules that work as libraries we refer to the later ones as packages.
What is a cluster?
Login nodes and calculations/computation nodes
A network of computers, each computer working as a node.
Each node contains several processor cores and RAM and a local disk called scratch.
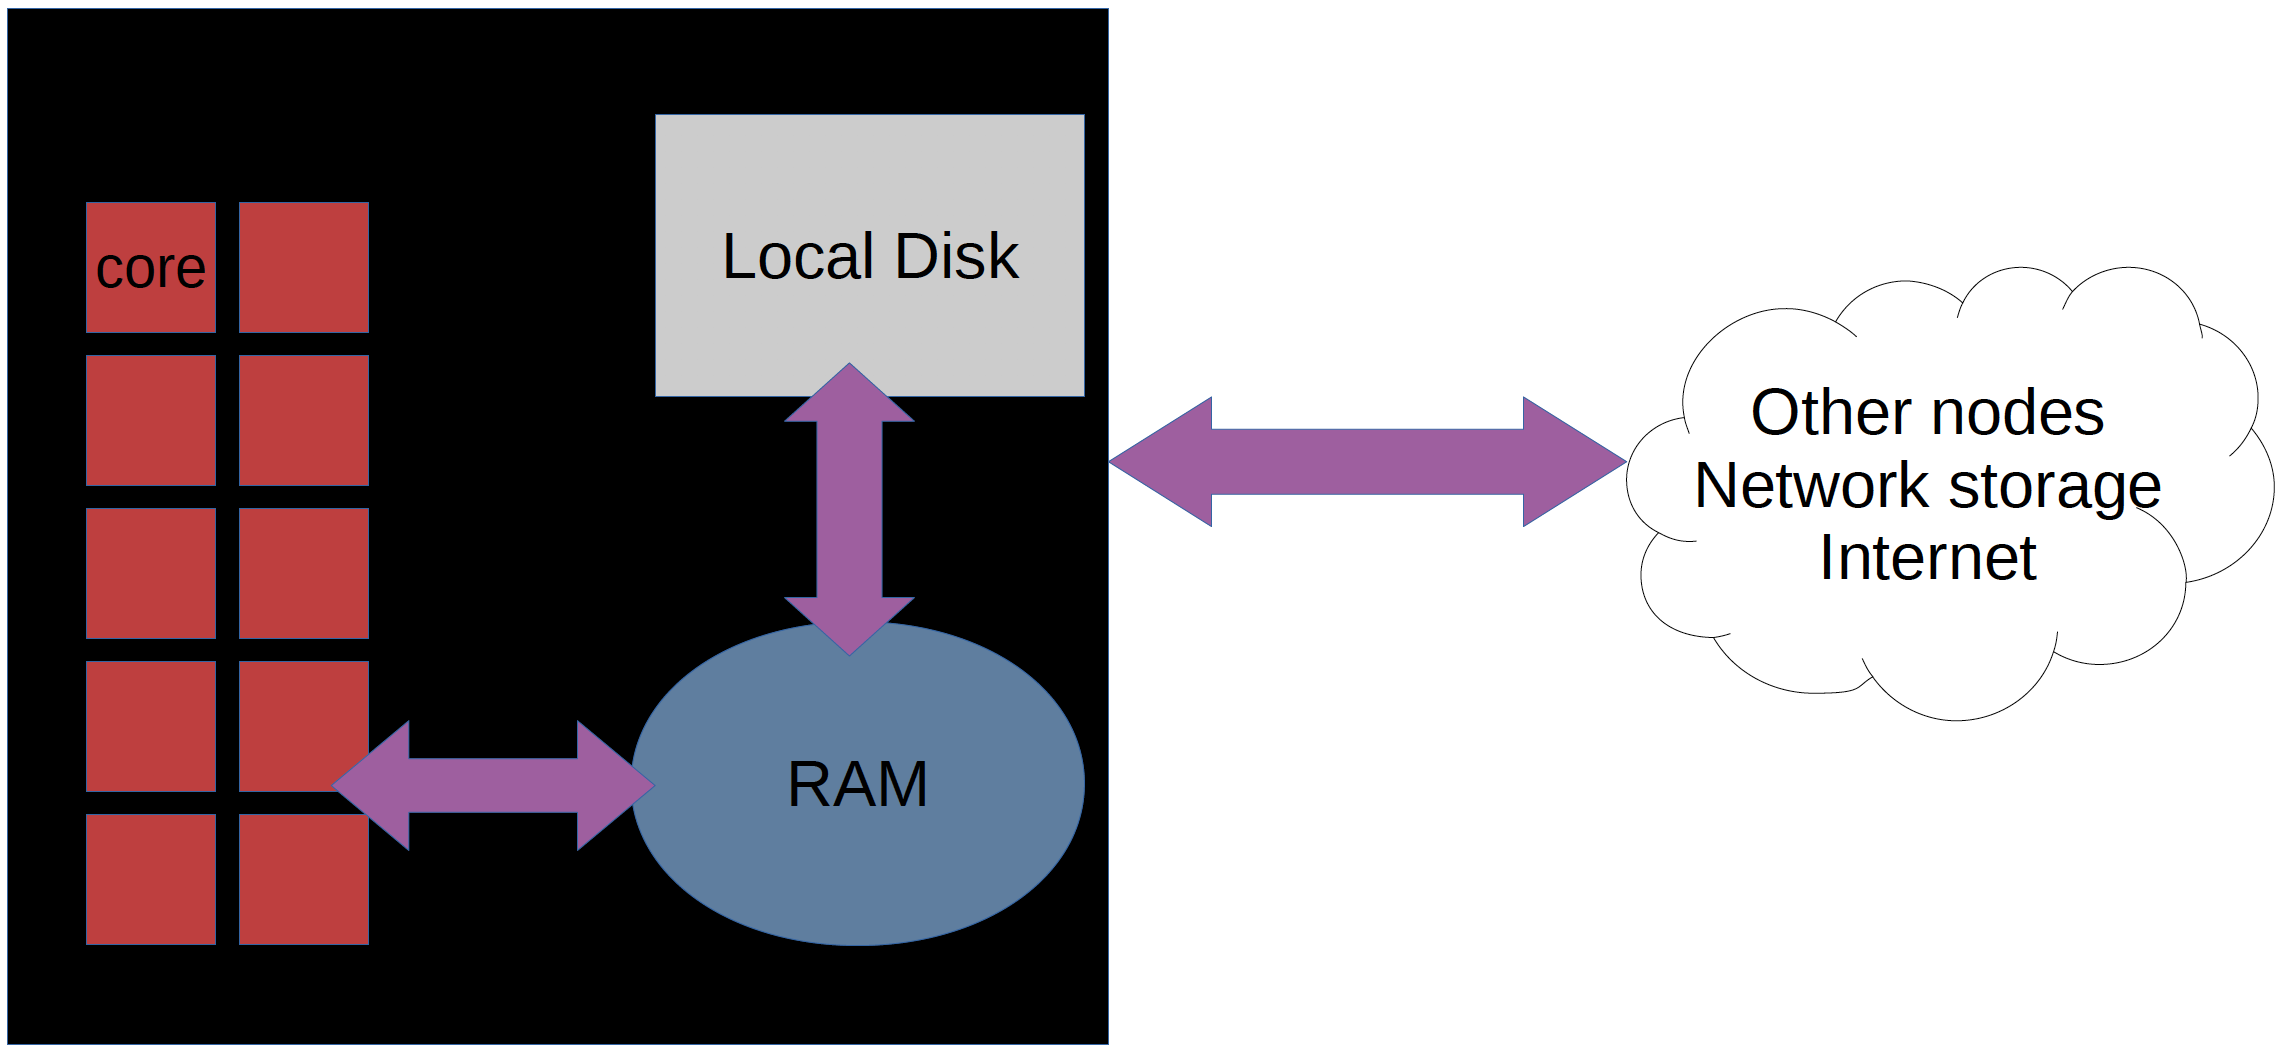
The user logs in to login nodes via Internet through ssh or Thinlinc.
Here the file management and lighter data analysis can be performed.
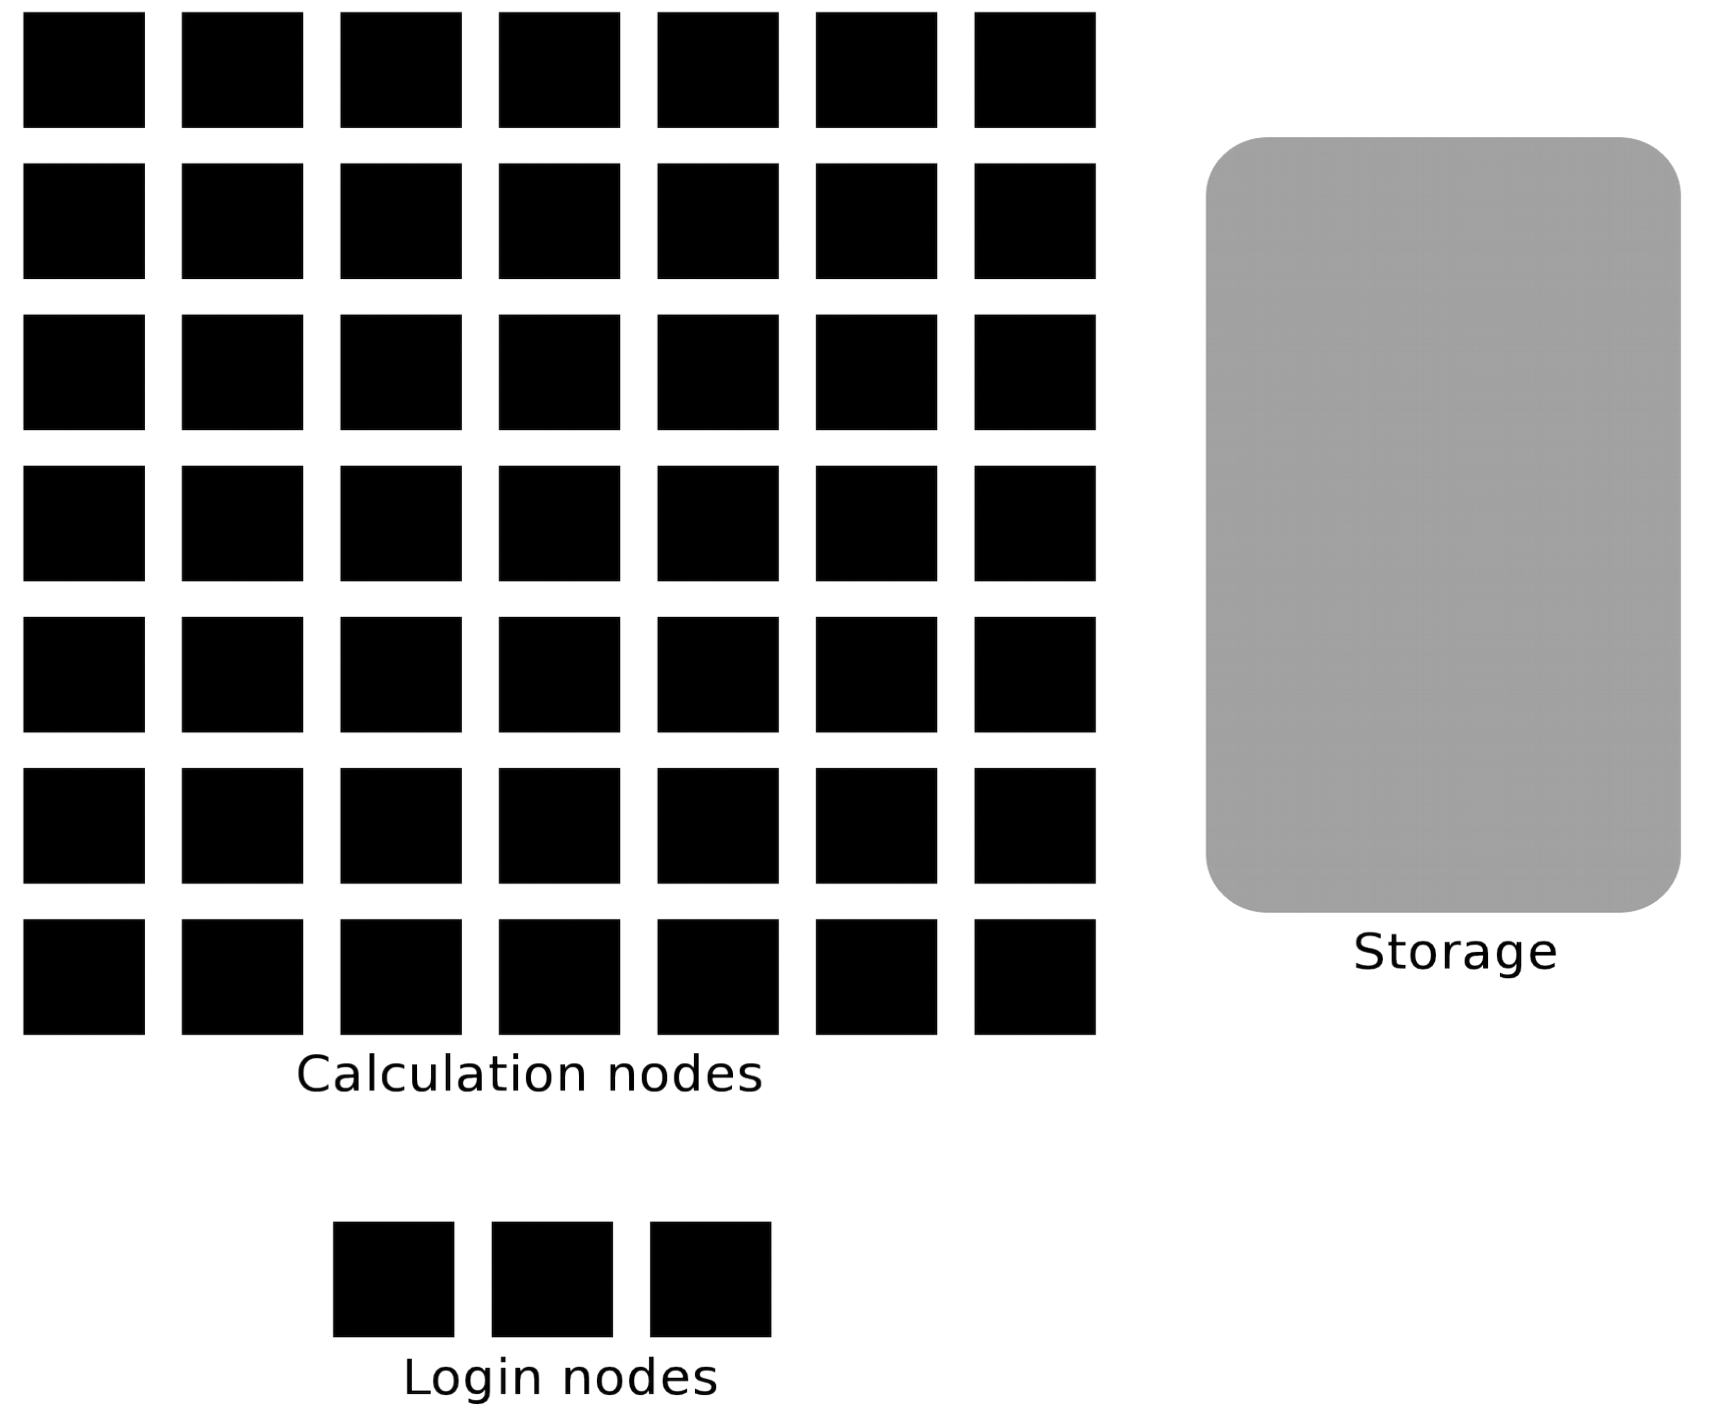
The calculation nodes have to be used for intense computing.
Common features
Intel CPUs
Linux kernel
Bash shell
Technology |
Kebnekaise |
Rackham |
Snowy |
Bianca |
|---|---|---|---|---|
Cores/compute node |
28 (72 for largemem part) |
20 |
16 |
16 |
Memory/compute node |
128-3072 GB |
128-1024 GB |
128-4096 GB |
128-512 GB |
GPU |
NVidia V100, A100, old K80s |
None |
NVidia T4 |
NVidia A100 |
Overview of the UPPMAX systems
![graph TB
Node1 -- interactive --> SubGraph2Flow
Node1 -- sbatch --> SubGraph2Flow
subgraph "Snowy"
SubGraph2Flow(calculation nodes)
end
ThinLinc -- usr-sensXXX + 2FA + VPN ----> SubGraph1Flow
Terminal/ThinLinc -- usr --> Node1
Terminal -- usr-sensXXX + 2FA + VPN ----> SubGraph1Flow
Node1 -- usr-sensXXX + 2FA + no VPN ----> SubGraph1Flow
subgraph "Bianca"
SubGraph1Flow(Bianca login) -- usr+passwd --> private(private cluster)
private -- interactive --> calcB(calculation nodes)
private -- sbatch --> calcB
end
subgraph "Rackham"
Node1[Login] -- interactive --> Node2[calculation nodes]
Node1 -- sbatch --> Node2
end](_images/mermaid-9b8712ee01100c69ff26b918b4d0cc4be4fc8db0.png)
Overview of the HPC2N system
![graph TB
Terminal/ThinLinc -- usr --> Node1
subgraph "Kebnekaise"
Node1[Login] -- interactive --> Node2[compute nodes]
Node1 -- sbatch --> Node2
end](_images/mermaid-70246c534051d358d45925cca44c4ae7447aa73b.png)