Sessions: Interactive work on compute nodes
Questions
How to reach the calculation nodes
How do I proceed to work interactively?
Objectives
Be able to start interactive sessions
Be able to run Julia in Jupyter notebook
Compute allocations in this workshop
Dardel:
naiss-2025-22-262Tetralith:
naiss-2025-22-262Rackham:
uppmax2025-2-272Kebnekaise:
hpc2n2025-062Cosmos:
lu2025-7-24
Storage space for this workshop
Dardel:
/cfs/klemming/projects/snic/r-matlab-julia-naissTetralith:
/proj/r-matlab-julia-naiss/users/Rackham:
/proj/r-py-jl-m-rackhamKebnekaise:
/proj/nobackup/r-py-jl-mCosmos:
<your own good place>
Note
It is possible to run Julia directly on the login (including ThinLinc) nodes.
But this should only be done for shorter jobs or jobs that do not use a lot of resources, as the login nodes can otherwise become slow for all users.
If you want to work interactively with your code or data, you should start an interactive session.
If you rather will run a script which won’t use any interactive user input while running, you can instead start a batch job, see next session.
There are several ways to run Julia interactively
Directly on the login nodes: only do this for short jobs that do not take a lot of resources
As an interactive job on the computer nodes, launched via the batch system
Jupyter notebooks on compute node.
General
In order to run interactively, you need to have compute nodes allocated to run on, and this is done through the Slurm system.
Because you will have to wait until the nodes are allocated, and because you cannot know when this happens, this is not usually a recommended way to run Julia, but it is possible.
The different way HPC2N, UPPMAX, LUNARC, and NSC provide for an interactive session
Here we define an interactive session as a session with direct access to a compute node. Or alternatively: an interactive session is a session, in which there is no queue before a command is run on a compute node.
This differs between HPC2N and UPPMAX :
HPC2N: the user remains on a login node. All commands can be sent directly to the compute node using
srunUPPMAX: the user is actually on a computer node. Whatever command is done, it is run on the compute node
LUNARC: the user is actually on a computer node if the correct menu option is chosen. Whatever command is done, it is run on the compute node
NSC: the user is actually on a computer node if the correct menu option is chosen. Whatever command is done, it is run on the compute node - - PDC: the user is actually on a computer node if the correct menu option is chosen. Whatever command is done, it is run on the compute node
Start an interactive session
To start an interactive session, one needs to allocate resources on the cluster first.
The command to request an interactive node differs per HPC cluster:
Cluster |
|
|
GfxLauncher |
|---|---|---|---|
HPC2N |
Works |
Recommended |
N/A |
UPPMAX |
Recommended |
Works |
N/A |
LUNARC |
Works |
N/A |
Recommended |
NSC |
Recommended |
N/A |
N/A |
PDC |
N/A |
Recommended |
Possible |
Example, HPC2N vs. UPPMAX (also valid for NSC, PDC and LUNARC):
![flowchart TD
subgraph uppmax[UPPMAX]
subgraph login_node[Login nodes]
user_on_login_node[User on login node]
end
subgraph compute_node[Compute nodes]
user_on_computer_node[User on compute node]
job_on_compute_node[Job on compute node]
end
end
subgraph hpc2n[HPC2N]
subgraph hpc2n_login_node[Login nodes]
hpc2n_user_on_login_node[User on login node]
hpc2n_user_in_interactive_mode[User on login node in interactive session]
end
subgraph hpc2n_compute_node[Compute nodes]
hpcn2_job_on_compute_node[Job on compute node]
end
end
user_on_login_node --> |interactive| user_on_computer_node
user_on_login_node --> |sbatch| job_on_compute_node
user_on_computer_node --> |exit| user_on_login_node
user_on_computer_node --> |srun| user_on_computer_node
hpc2n_user_on_login_node --> |salloc| hpc2n_user_in_interactive_mode
hpc2n_user_in_interactive_mode --> |exit| hpc2n_user_on_login_node
hpc2n_user_on_login_node --> |sbatch| hpcn2_job_on_compute_node
hpc2n_user_in_interactive_mode --> |srun| hpcn2_job_on_compute_node](../_images/mermaid-b4cb46316fa24eacf67bdf4e88c0b0dd2085bec7.png)
First, you make a request for resources with
interactive/salloc, like this:
$ interactive -n <tasks> --time=HHH:MM:SS -A naiss2025-22-262
$ salloc -n <ntasks> --time=HHH:MM:SS -A naiss2025-22-262 -p <partition>
Where <partition> is shared, main or gpu
We recommend
sharedWait until you get the node
- ``ssh´´ to the node given and then work there
Example:
$ ssh nid001057
$ interactive -n <tasks> --time=HHH:MM:SS -A uppmax2025-2-272
$ interactive -n <tasks> --time=HHH:MM:SS -A lu2025-7-24
$ salloc -n <tasks> --time=HHH:MM:SS -A hpc2n2023-114
ssh to the node given and then work there
where <tasks> is the number of tasks (or cores, for default 1 task per core), time is given in hours, minutes, and seconds (maximum T168 hours), and then you give the id for your project
Then, when you get the allocation, do one of:
srun -n <ntasks> ./programYour request enters the job queue just like any other job, and interactive/salloc will tell you that it is waiting for the requested resources.
When salloc tells you that your job has been allocated resources, you can interactively run programs on those resources with
srun.The commands you run with
srunwill then be executed on the resources your job has been allocated.
On HPC2N
If you do not preface with
srunthe command is run on the login node!You can now run Julia scripts on the allocated resources directly instead of waiting for your batch job to return a result.
This is an advantage if you want to test your Julia script or perhaps figure out which parameters are best.
Documentation at the centers
Example Demo
Type-Along
Requesting 4 cores for 10 minutes, then running Julia
[sm_bcarl@tetralith3 ~]$ interactive -n 4 -t 0:30:0 -A naiss2025-22-262
salloc: Pending job allocation 43071298
salloc: job 43071298 queued and waiting for resources
salloc: job 43071298 has been allocated resources
salloc: Granted job allocation 43071298
salloc: Waiting for resource configuration
salloc: Nodes n760 are ready for job

[bjornc@r483 ~]$ module load julia/1.10.2-bdist
Let us check that we actually run on the compute node:
[sm_bcarl@n760 ~]$ srun hostname
n760
n760
n760
n760
We are. Notice that we got a response from all four cores we have allocated.
claremar@login1:~> salloc --ntasks=4 -t 0:30:00 -p shared --qos=normal -A naiss2025-22-262
salloc: Pending job allocation 9102757
salloc: job 9102757 queued and waiting for resources
salloc: job 9102757 has been allocated resources
salloc: Granted job allocation 9102757
salloc: Waiting for resource configuration
salloc: Nodes nid001057 are ready for job

claremar@login1:~> module load PDC/23.12 julia/1.10.2-cpeGNU-23.12
Let us check that we actually run on the compute node. This has to be done differently
claremar@login1:~> srun hostname
nid001064
nid001063
nid001064
nid001063
Now, it seems that Dardel allows for “hyperthreading”, that is 2 threads per core.
claremar@login1:~> srun -n 8 hostname
nid001064
nid001064
nid001063
nid001063
nid001064
nid001064
nid001063
nid001063
We are. Notice that we got a response from all four cores we have allocated.
[bjornc@rackham2 ~]$ interactive -A uppmax2025-2-272 -p core -n 4 -t 0:30:00
You receive the high interactive priority.
There are free cores, so your job is expected to start at once.

Please, use no more than 6.4 GB of RAM.

Waiting for job 29556505 to start...
Starting job now -- you waited for 1 second.

[bjornc@r483 ~]$ module load julia/1.8.5
Let us check that we actually run on the compute node:
[bjornc@r483 ~]$ srun hostname
r483.uppmax.uu.se
r483.uppmax.uu.se
r483.uppmax.uu.se
r483.uppmax.uu.se
We are. Notice that we got a response from all four cores we have allocated.
[~]$ salloc -n 4 --time=00:30:00 -A hpc2n2025-062
salloc: Pending job allocation 20174806
salloc: job 20174806 queued and waiting for resources
salloc: job 20174806 has been allocated resources
salloc: Granted job allocation 20174806
salloc: Waiting for resource configuration
salloc: Nodes b-cn0241 are ready for job
[~]$ module load GCC/11.2.0 OpenMPI/4.1.1 julia/1.8.5
[~]$
Let us check that we actually run on the compute node:
[~]$ srun hostname
b-cn0241.hpc2n.umu.se
b-cn0241.hpc2n.umu.se
b-cn0241.hpc2n.umu.se
b-cn0241.hpc2n.umu.se
We are. Notice that we got a response from all four cores we have allocated.
[bjornc@cosmos1 ~]$ interactive -A lu2025-7-24 -n 4 -t 30:00
Cluster name: COSMOS
Waiting for JOBID 930844 to start

[bjornc@cn050 ~]$ module load Julia/1.8.5-linux-x86_64
Let us check that we actually run on the compute node:
[bjornc@cn050 ~]$ echo $SLURM_CPUS_ON_NODE
4
We are, because the $SLURM* environment variable gves an output. Notice that we got 4, whihc is nt the size of the physcial node bt the allocation size.
Running a script
- The script
Adding two numbers from user input (serial-sum.jl)
# This program will add two numbers that are provided by the user

# Get the numbers
x = parse( Int32, ARGS[1] )
y = parse( Int32, ARGS[2] )
# Add the two numbers together
summ = x + y
println("The sum of the two numbers is ", summ)
Running the script
Note that the commands are the same for both HPC2N and UPPMAX!
Running a Julia script in the allocation we made further up. Notice that since we asked for 4 cores, the script is run 4 times, since it is a serial script
[~]$ srun julia serial-sum.jl 3 4
The sum of the two numbers is: 7
The sum of the two numbers is: 7
The sum of the two numbers is: 7
The sum of the two numbers is: 7
[~]$
Without the
sruncommand, Julia won’t understand that it can use several cores. Therefore the program is run only once.[~]$ julia serial-sum.jl 3 4 The sum of the two numbers is: 7
Running Julia REPL
First start Julia using the 4 cores and check if workers are available
$ julia -p 4
julia> nworkers()
4
Exit Julia
julia> <CTRL-D>
4
Exit
When you have finished using the allocation, either wait for it to end, or close it with exit
[sm_bcarl@n134 ~]$ exit
logout
srun: error: n134: task 0: Exited with exit code 130
srun: Terminating StepId=43071803.interactive
salloc: Relinquishing job allocation 43071803
salloc: Job allocation 43071803 has been revoked.
[sm_bcarl@tetralith3 ~]$
claremar@login1:~> exit
exit
salloc: Relinquishing job allocation 9103056
claremar@login1:~>
[bjornc@r483 ~]$ exit

exit
[screen is terminating]
Connection to r483 closed.

[bjornc@rackham2 ~]$
[~]$ exit
exit
salloc: Relinquishing job allocation 20174806
salloc: Job allocation 20174806 has been revoked.
[~]$
[~]$ exit
exit
[screen is terminating]
Connection to cn050 closed.

[~]$
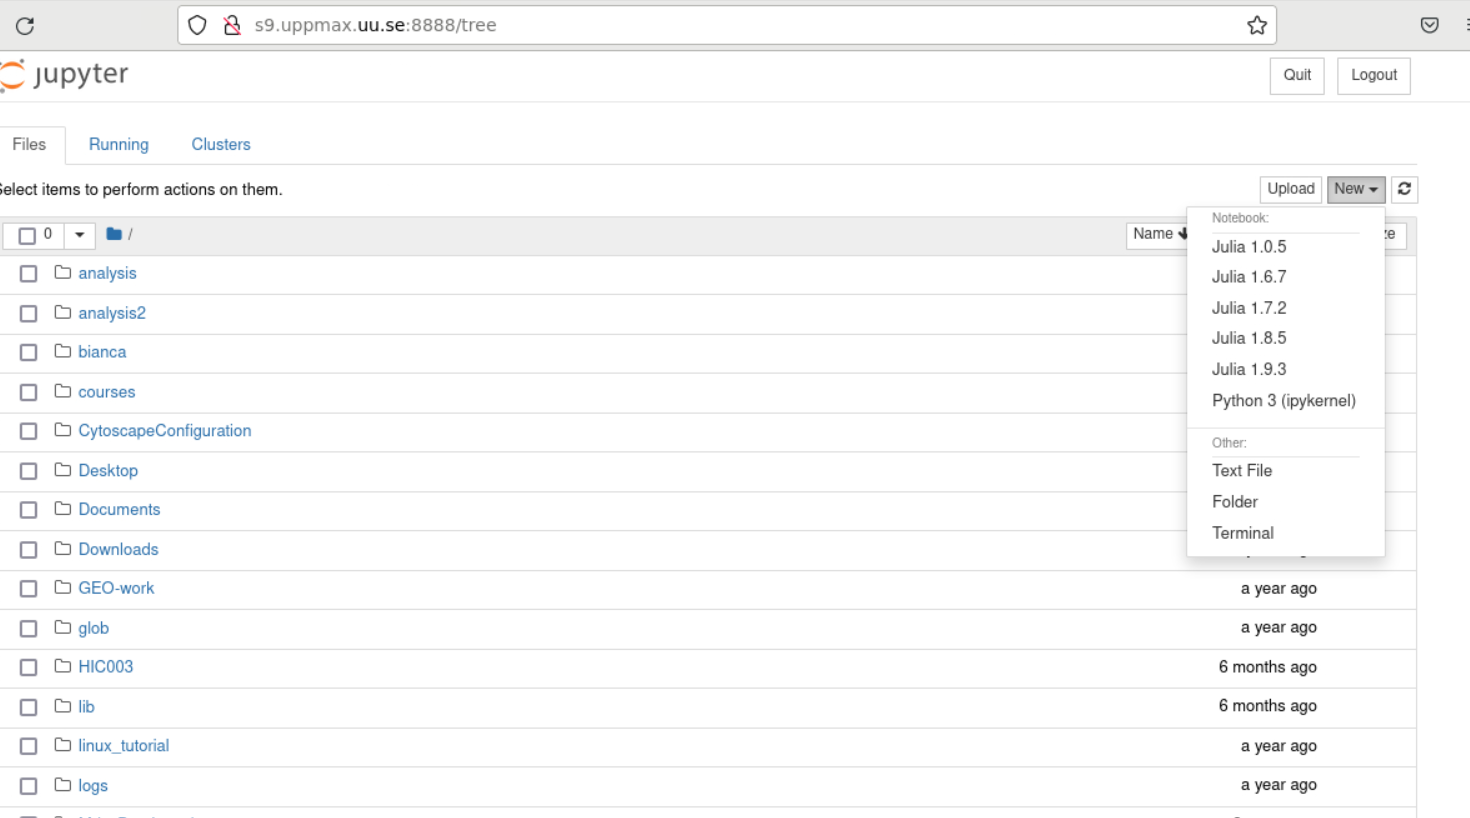
Running Julia in Jupyter
Like for Python it is possible to run Julia in Jupyter, i.e. in a web interface with possibility of inline figures and debugging.
For this you need the
IJulia packagethat you may have to install yourself.An easy way to do this is to load a python or Jupyter module as well.
For more interactiveness you can run IJulia which is Julia in Jupyter.
You benefit a lot if you are using ThinLinc
Installation step
This is done only once, but for each combination of Julia you would like to use.
It may take 5-10 minutes or so.
This you can do in an ordinary terminal (book an interactive session, for safety)
$ ml Python/3.11.5-env-hpc1-gcc-2023b-eb
$ ml julia/1.10.2-bdist
$ julia -p 4
In Julia:
julia> using Pkg
julia> Pkg.add("IJulia")
julia> Pkg.build("IJulia")
julia> using IJulia
julia> notebook(dir=".",detached=true)
$ ml PDC/23.12 julia/1.10.2-cpeGNU-23.12
$ ml cray-python/3.11.5
$ julia
In Julia:
julia> using Pkg
julia> Pkg.add("IJulia")
julia> Pkg.build("IJulia")
julia> using IJulia
julia> notebook(dir=".",detached=true)
The last command may not be able to start notebook, see further down how to do.
$ module load julia/1.8.5
$ module load python/3.9.5
$ julia -p 4
In Julia:
julia> using Pkg
julia> Pkg.add("IJulia")
julia> Pkg.build("IJulia")
julia> using IJulia
julia> notebook(dir=".",detached=true)
Like for Python it is possible to run a Julia in a Jupyter, i.e. in a web interface with possibility of inline figures and debugging. An easy way to do this is to load the JupyterLab and Julia modules. In shell:
$ module load GCCcore/13.2.0  JupyterLab/4.2.0
$ module load Julia/1.8.5-linux-x86_64
$ julia
In Julia package mode:
(v1.8) pkg>add IJulia
(v1.8) pkg>build IJulia
In some centres (UPPMAX and NSC) this will start a Firefox session with the Jupyter notebook interface.
If not, see below.
In any case, IJulia is now installed!
Starting a Jupyter session with Julia Kernel
You can start up Julia in Jupyter quickly, once
IJuliais installed for the combinations of Julia and Python/Jupyter you want to use.- There are two ways
starting from within julia REPL (not for HPC2n or PDC)
starting jupyter session from terminal
From Julia REPL
This may not always work
julia> using IJulia
julia> notebook(dir=".",detached=true)
Tip
With notebook(dir="</path/to/work/dir/>", detached=true) the notebook will not be killed when you exit your REPL Julia session in the terminal.
Jupyter session from terminal
Principle
Load julia module (and prerequisites)
Load Python or Jupyter module (and prerequisites) that is compatible with the python version used when building IJulia in the previous step
Running IJulia in Jupyter on compute nodes
Jupyter is rather slow graphically on the compute nodes.
- This can be fixed by
starting the jupyter server on the compute node, copying the URL containing the.
then starting a web browser in ThinLinc and open the URL copied in previous step
One can even use the home computer, see https://uppmax.github.io/HPC-python/day1/IDEs.html#jupyter
First start an interactive session
$ ml Python/3.11.5-env-hpc1-gcc-2023b-eb
$ ml julia/1.10.2-bdist
$ jupyter-lab --ip=$HOSTNAME
Start the browser from the ThinLinc menu.
Copy-paste the address line containing the node name from the jupyter output
You can start the Julia kernel in the upper right corner!
Since Jupyter and a web browser are missing on the compute nodes, we need to find another solution here.
Below are the steps that would be nice if we got working!
First start an interactive session
$ ml PDC/23.12 julia/1.10.2-cpeGNU-23.12 cray-python/3.11.5
$ jupyter-lab --ip=$HOSTNAME
Start the browser from the ThinLinc menu.
Copy-paste the address line containing the node name from the jupyter output
You can start the Julia kernel in the upper right corner!
$ module load julia/1.8.5
$ module load python/3.9.5
$ jupyter-lab --ip=$HOSTNAME
Start the browser from the ThinLinc menu.
Copy-paste the address line containing the node name from the jupyter output
You can start the Julia kernel in the upper right corner!
$ module load GCCcore/13.2.0  JupyterLab/4.2.0
$ module load Julia/1.8.5-linux-x86_64
$ jupyter-lab --ip=$HOSTNAME
Start the browser from the ThinLinc menu.
Copy-paste the address line containing the node name from the jupyter output
You can start the Julia kernel in the upper right corner!
Write a bash script similar to this (call it job_jupyter.sh, for instance):
#!/bin/bash
# Here you should put your own project id
#SBATCH -A hpc2n2025-062
# This example asks for 1 core
#SBATCH -n 1
# Ask for a suitable amount of time. Remember, this is the time the Jupyter notebook will be available! HHH:MM:SS.
#SBATCH --time=00:10:00
# Clear the environment from any previously loaded modules
module purge > /dev/null 2>&1
# Load the module environment suitable for the job
module load GCCcore/13.2.0  JupyterLab/4.2.0
# Load the Julia module
ml Julia/1.8.5-linux-x86_64
# Start JupyterLab
jupyter lab --no-browser --ip $(hostname)
Then, in the output file slurm-<jobID>.out file, copy the url that starts with http://b-cn1403.hpc2n.umu.se:8888/lab and paste it in a Firefox browser on Kebnekaise. When the Jupyter notebook interface starts, you can choose the Julia version from the module you loaded (in this case 1.8.5).
Running Julia in Jupyter on compute nodes at HPC2N
On Kebnekaise, you can run Jupyter notebooks with Julia kernels by using batch scripts
https://docs.hpc2n.umu.se/tutorials/jupyter/#jupyterlab__with__julia
Exercises
1. Try to run scripts from an interactive session
Try out one or two of the scripts from the exercise folder
batchJulia.- First create an interactive session with the right Slurm commands to the
interactive/salloccommand. use the commands from the batch job script belonging to the julia script at examples of batch scripts for julia
- First create an interactive session with the right Slurm commands to the
Keypoints
Start an interactive session on a calculation node by a SLURM allocation
At HPC2N:
salloc…At UPPMAX/LUNARC:
interactive…
Follow the same procedure as usual by loading the Julia module and possible prerequisites.
Run Julia in Jupyter lab/notebook
Procedure is to use the IJulia package and start a jupyter notebook from the julia command line.